Verdict
SocialRails is a simple and affordable tool for scheduling posts across multiple platforms and quickly generating AI content, including full content plans. However, it lacks advanced features like social listening and fully seamless AI editing, so it’s better suited to basic content workflows than to enterprise-level management.
Pros and Cons
- Schedule content across 9 social media platforms from one dashboard
- Unlimited AI content generation
- 350+ video templates
- GPT-5 image generation
- Affordable pricing
- Generous workspace limits (up to 25) for agencies
- Easy-to-use dashboard
- Generate a full 30-day content plan in under a minute
- Recurring posts
- Secure OAuth account connections
- One-click content optimization
- Smaller community compared to more established social media tools
- Less platform support than alternatives like Hootsuite
- Some AI and video tools can take time to learn
- No forever-free plan; the 3-day trial requires a $1 commitment
- AI image and video generation are subject to monthly credit limits
- Some AI-generated changes require manual copy-pasting into the final post
- Lacks deep social listening or a unified inbox for replying to comments
- English-only interface
What is SocialRails?
How I Manage My Social Media | SocialRails Demo

SocialRails is a social media management platform that schedules and manages your posts across 9 platforms in 60 seconds from one dashboard, with AI tools for content creation and optimization. It’s aimed at creators, solopreneurs, marketers, and teams who want to save time on publishing and keep a consistent posting schedule.
A Lightweight, Affordable Alternative
I’ve tried a lot of social media scheduling tools like Hootsuite, Circleboom, StoryChief, and ContentStudio. It’s easy to run multiple tools at once and still feel like you’re drowning, so when I stumbled across SocialRails, I was skeptical.
But I quickly found that this tool is different. It’s built specifically for creators, solopreneurs, and agencies, so it’s not trying to be everything to everyone. It’s also lightweight and affordable, which you’ll appreciate immediately.
Platform Support
One of the first things that caught my attention was the platform support.
You can post to 9 social media platforms from a single dashboard, including the usual suspects (Instagram, Facebook, LinkedIn, Twitter/X, and more), all in one place. That means no more logging in and out of five different tabs.
Workspace Feature
For agencies, the workspace feature is a big deal. SocialRails lets you manage up to 25 separate workspaces, so if you’re handling multiple clients, you can keep everything effortlessly organized.
Security
Security is also worth mentioning. All platform connections use secure OAuth authorization, and you only have to set it up once. That means no re-entering passwords every week or getting randomly logged out at the worst possible moment.
SocialRails has been getting some solid recognition lately. It’s been featured on There’s An AI For That and Startup Fame, both pretty well-known directories in the AI tools space. That kind of traction usually means people are using it and finding it useful rather than just hype.
As with anything, it’s not a perfect tool. But as a starting point for someone who’s fed up with overpriced, bloated platforms? It’s worth a serious look. Sometimes, simpler is better.
Who is SocialRails Best For?
SocialRails is best for those who need an affordable, lightweight tool to schedule posts, generate AI content, and manage multiple social accounts without enterprise bloat:
- Solopreneurs and freelancers can manage 9 social media platforms and create content with AI.
- Small teams and agencies benefit from up to 25 workspaces, collaboration features, and bulk publishing tools.
- Content creators save hours compared to manual workflows thanks to short-form video templates, GPT-5 image generation, and recurring posts.
- Marketers can streamline campaign planning, schedule content in bulk, and use AI tools to maintain a consistent posting workflow across multiple platforms.
SocialRails Key Features
Here are SocialRails’ key features:
- Schedule to 9 social media platforms from a single dashboard
- Drag-and-drop content calendar
- AI caption and post generation
- Short-form video creation and templates
- GPT-5 image generation
- Auto-recurring posts
- Best-time-to-post suggestions
- Auto-image resizing for different platforms
- Analytics and performance tracking
- Up to 25 workspaces for teams or agencies
- Mobile-friendly dashboard
- Secure OAuth connections for platforms
- Video thumbnail generator
How to Use SocialRails
Here’s how I used SocialRails to build and schedule a full 30-day content plan in one minute:
- Sign Up for SocialRails
- Connect Social Accounts
- Explore the Dashboard
- Go to Your Account Settings
- Add a Business Name & Description
- Add a Tone of Voice
- Add a Brand Style
- Create a Content Plan
- Edit the Posts
- Generate an Image
- Ask AI to Make Changes
- Schedule the Posts
- View the Scheduled Posts
- Edit the Post Caption
- Create More Posts & Connect Accounts
Step 1: Sign Up for SocialRails
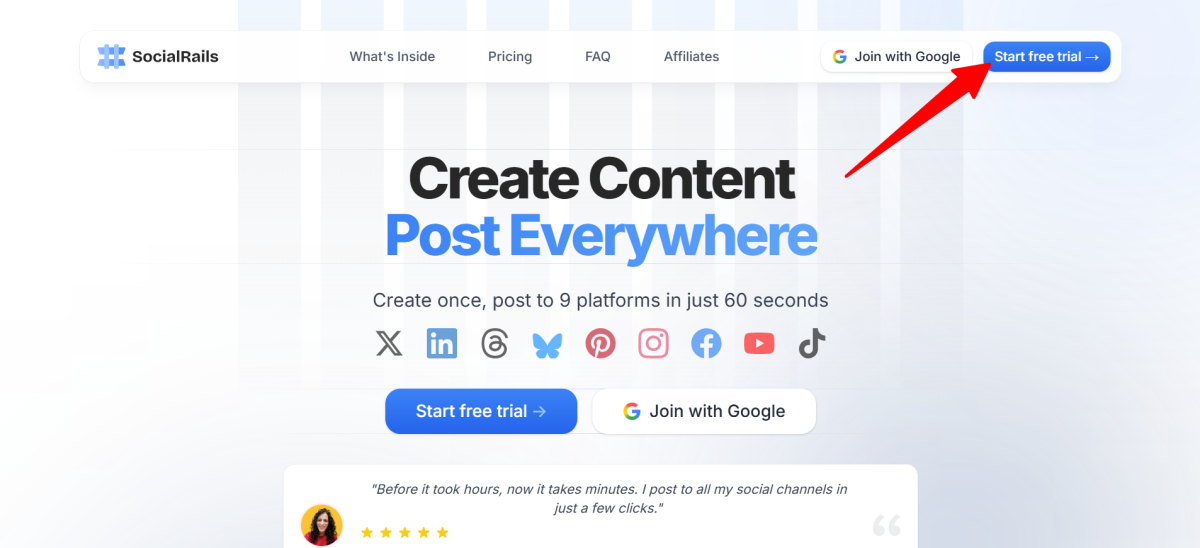
I started by going to socialrails.com and selecting “Start free trial.”
Step 2: Connect Social Accounts
After signing up for the free trial (it lasts three days, and you have to pay $1), I connected the social media accounts I wanted to manage.
Here were my options:
- Twitter/X
- Bluesky
- Threads
- YouTube
- TikTok
With SocialRails, you can connect 9 platforms on a single dashboard.
While this doesn’t seem like much, SocialRails connects to the most popular platforms, like Instagram, Pinterest, Facebook, and YouTube. This makes it easier to manage everything in one place without constantly switching between apps.
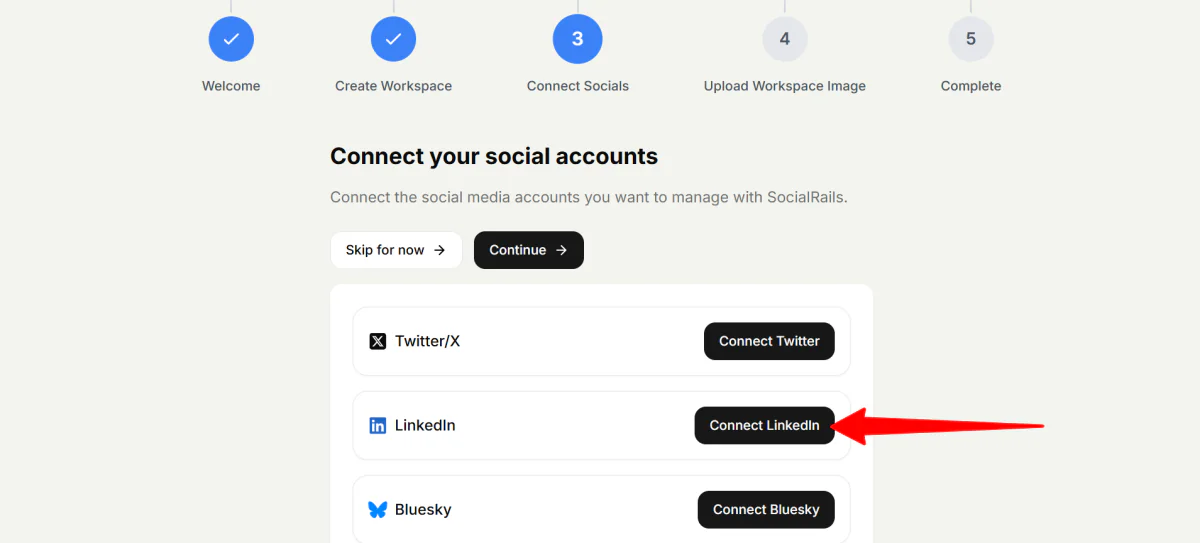
While you can skip this for now when setting up your account, I went ahead and connected my LinkedIn account by selecting “Connect LinkedIn.”
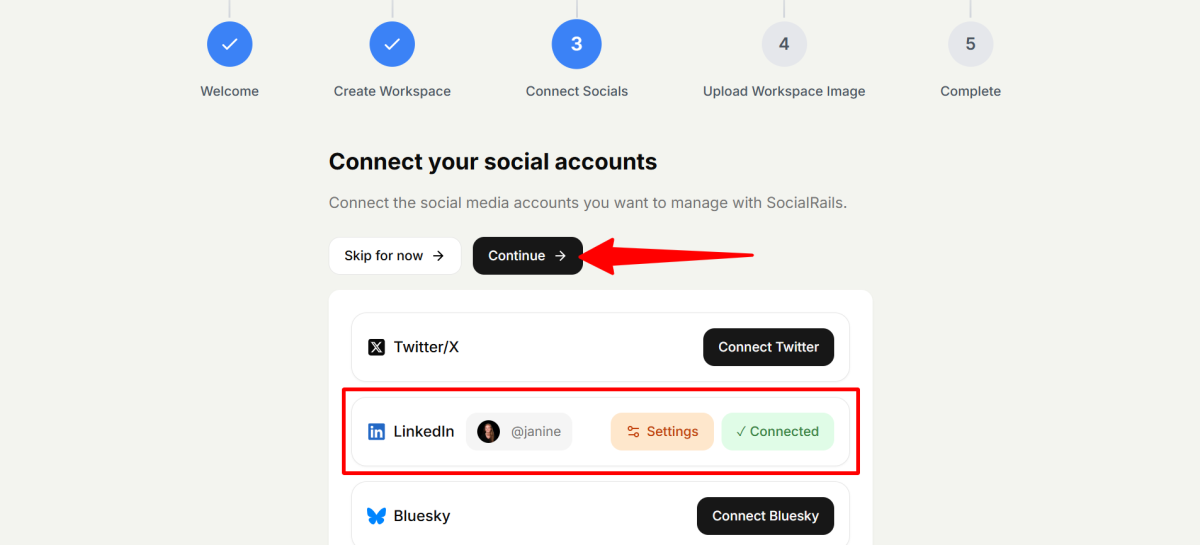
Connecting my LinkedIn account was effortless and took seconds. From there, I hit “Continue” to complete the setup.
Step 3: Explore the Dashboard
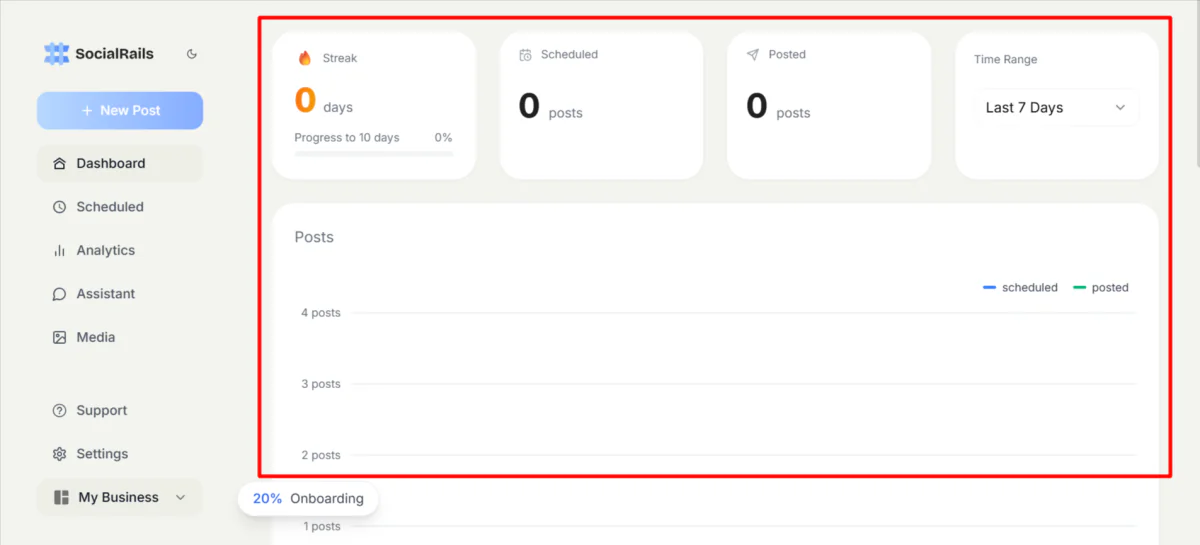
Once everything was set up, I was taken to my dashboard. I really loved how clean and simple it was.
At the top were my post-day streak, scheduled posts, post number, and time range.
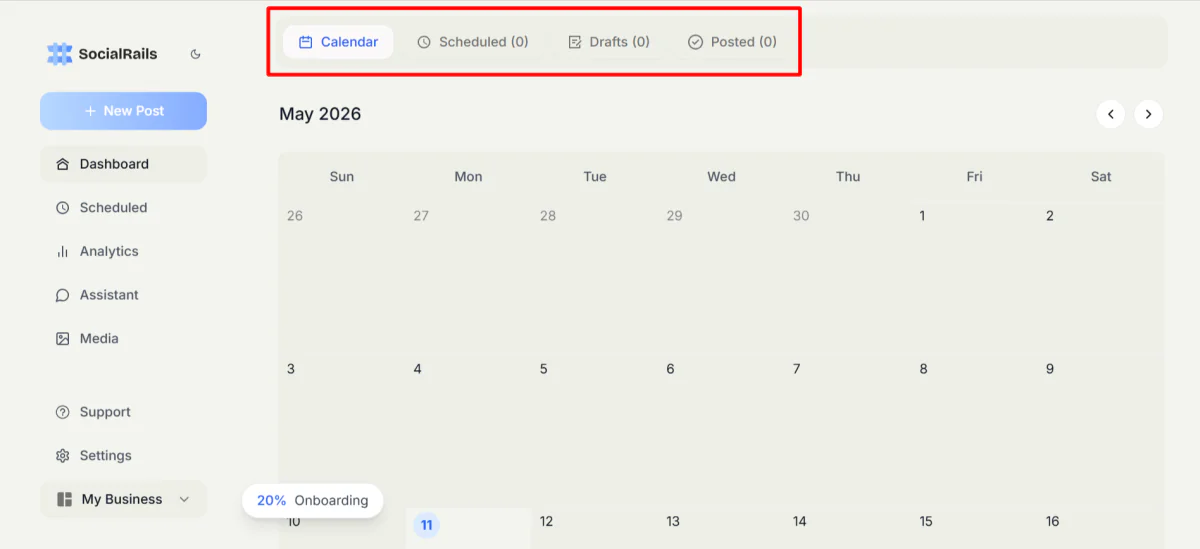
Below that was my content calendar, giving me a clear overview of scheduled, drafted, and uploaded posts across my social media platforms.
Step 4: Go to Your Account Settings
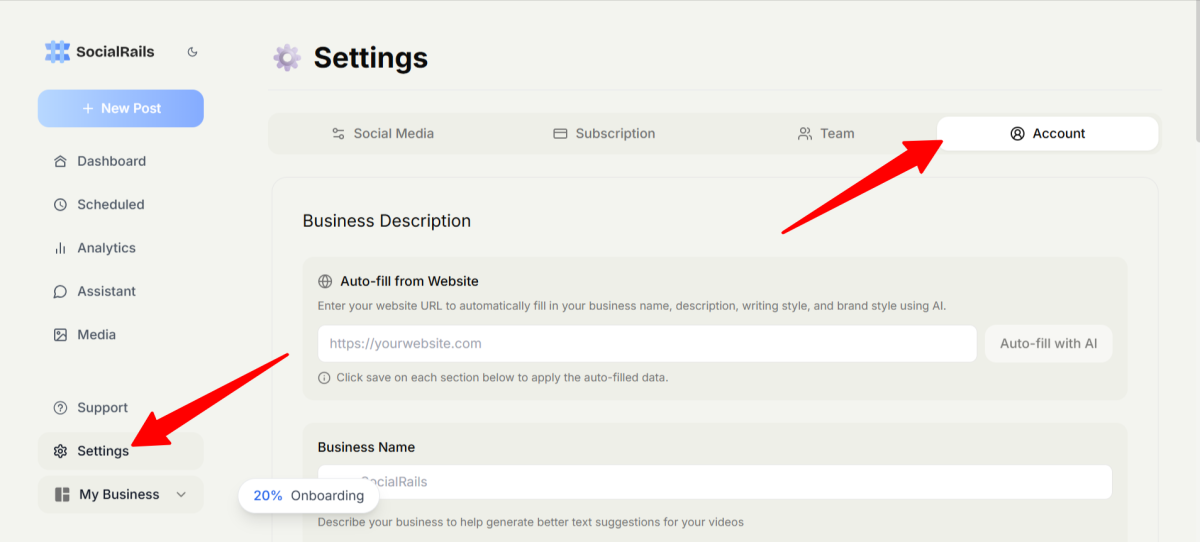
Next, I went to my account settings by hitting “Settings” and “Account.” This is where I could add my business description and tone of voice.
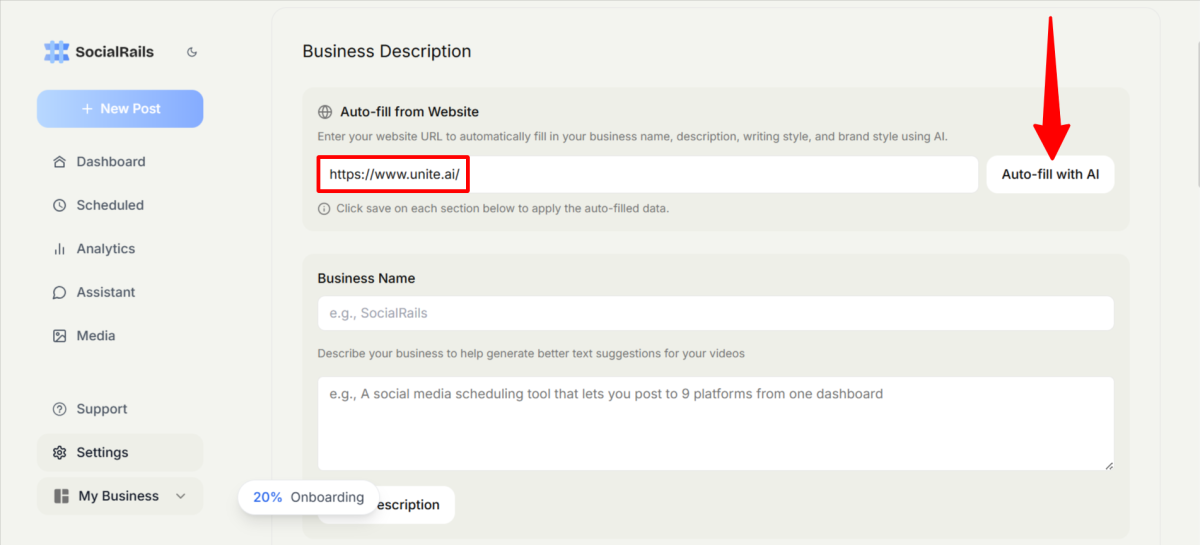
Starting with the business description, I added my business URL. I noticed a button appear on the right labelled “Auto-fill with AI.” I selected it to save time and see how accurate it would be.
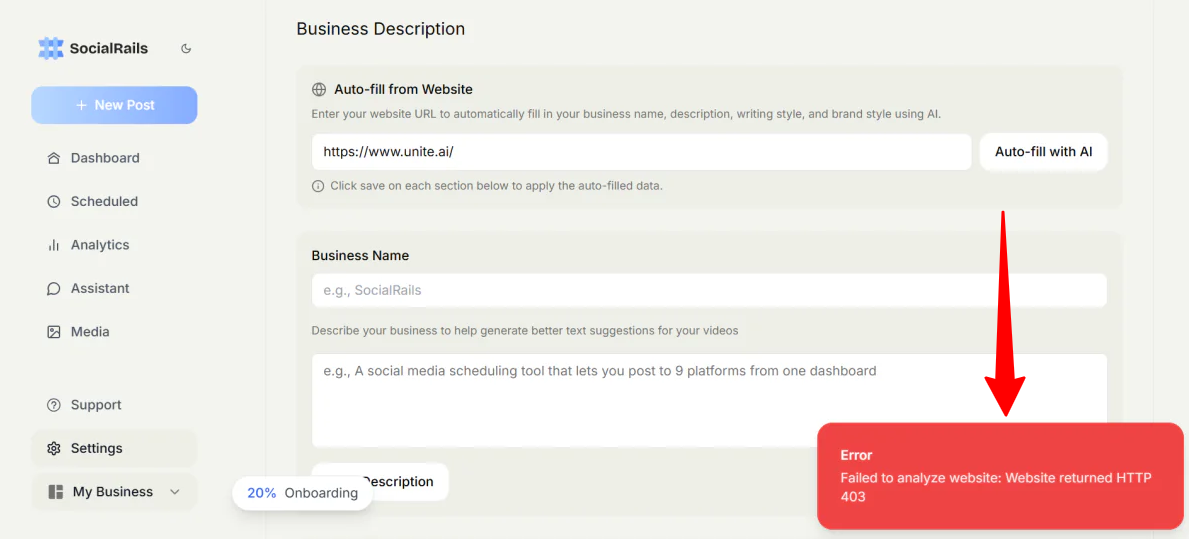
Unfortunately, I hit a snag with this feature. It failed to read my website, so I had to input my business description manually.
While not a dealbreaker, it’s a reminder that AI scrapers can still struggle with certain website architectures.
Step 5: Add a Business Name & Description
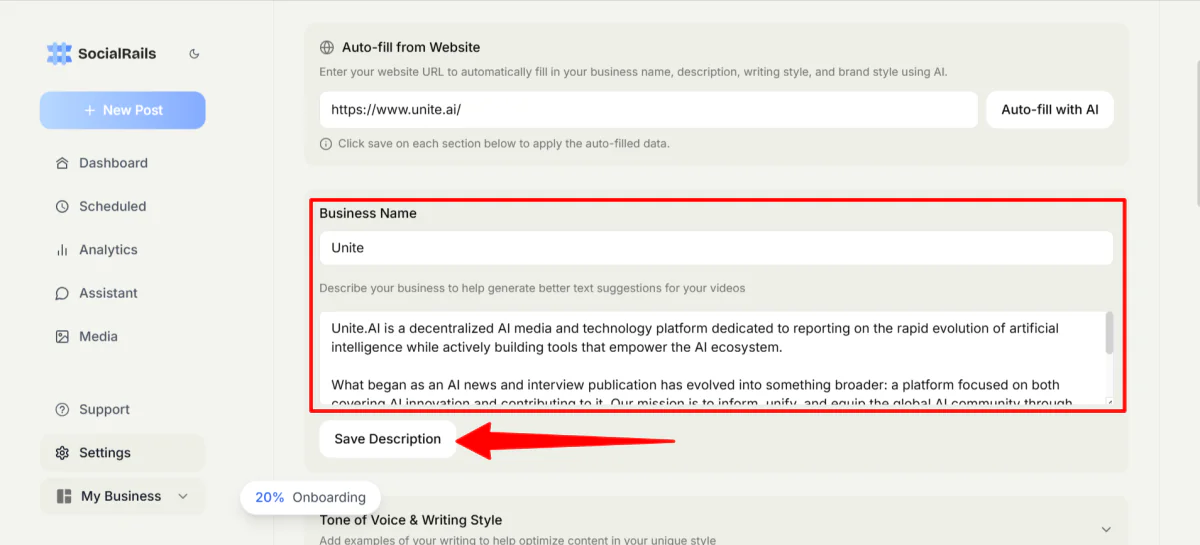
I filled them in manually, which took no time, and hit “Save Description.”
Step 6: Add a Tone of Voice
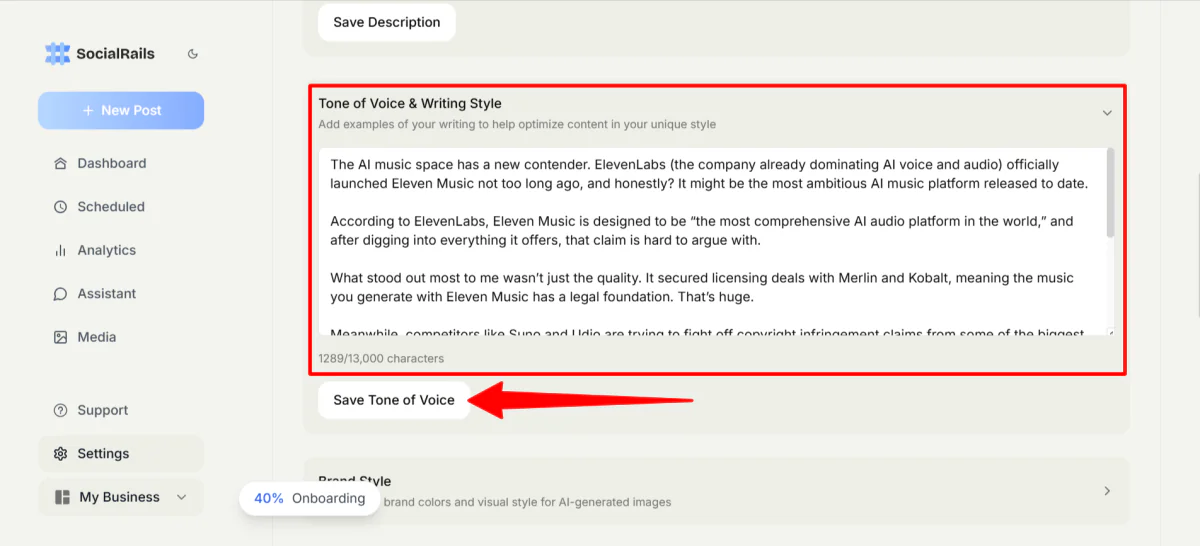
From there, I uploaded a sample of my writing to help define the tone of voice and improve how my content is optimized.
Social media posts work best for this, but I just uploaded a section of one of my past articles. Just remember to hit “Save” for each section.
Step 7: Add a Brand Style
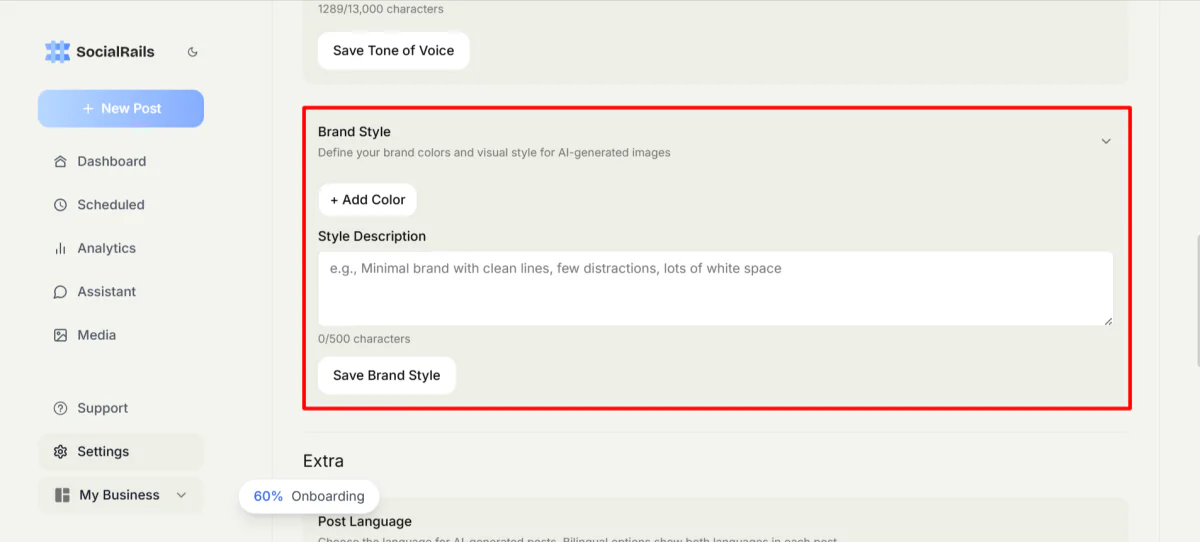
Those are the main things to fill out in the account settings. Feel free to upload a brand style as well (color and style description) for AI-generated images.
Step 8: Create a Content Plan
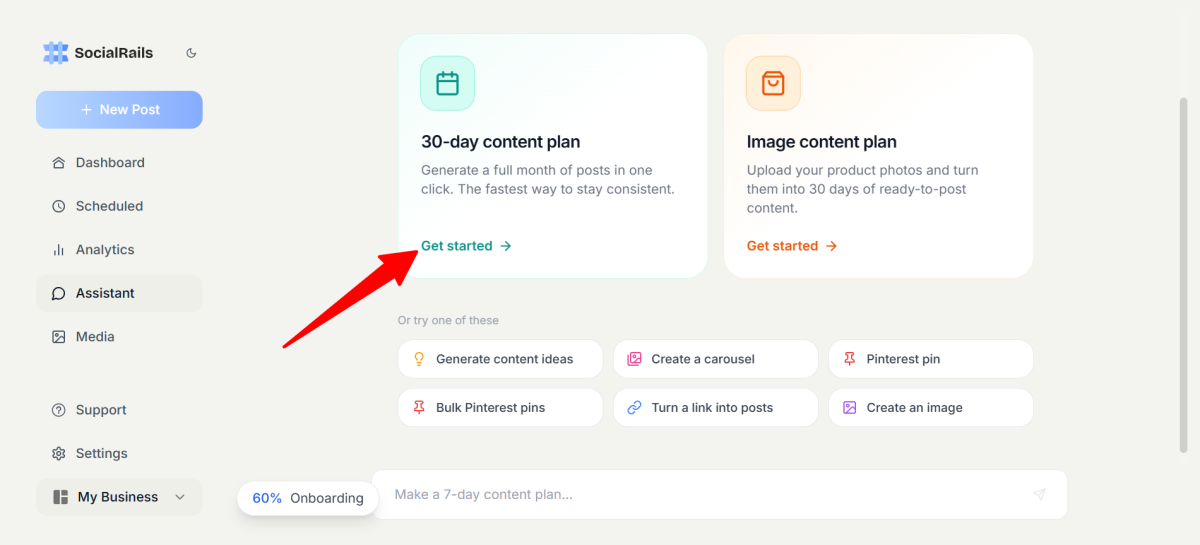
Next, I went to the AI assistant by clicking “Assistant” in the navigation bar.
SocialRails presented me with a couple of options:
- 30-day content plan
- Image content plan (upload product photos to turn them into content that is ready to post)
- Generate content ideas
- Create a carousel
- Pinterest pin
- Bulk Pinterest pins
- Turn a link into posts
- Create an image
To really see what SocialRails was capable of, I went with the “30-day content plan.” If none of these suggestions suit your needs, feel free to type what you want to create in the empty field at the bottom.
Step 9: Edit the Posts
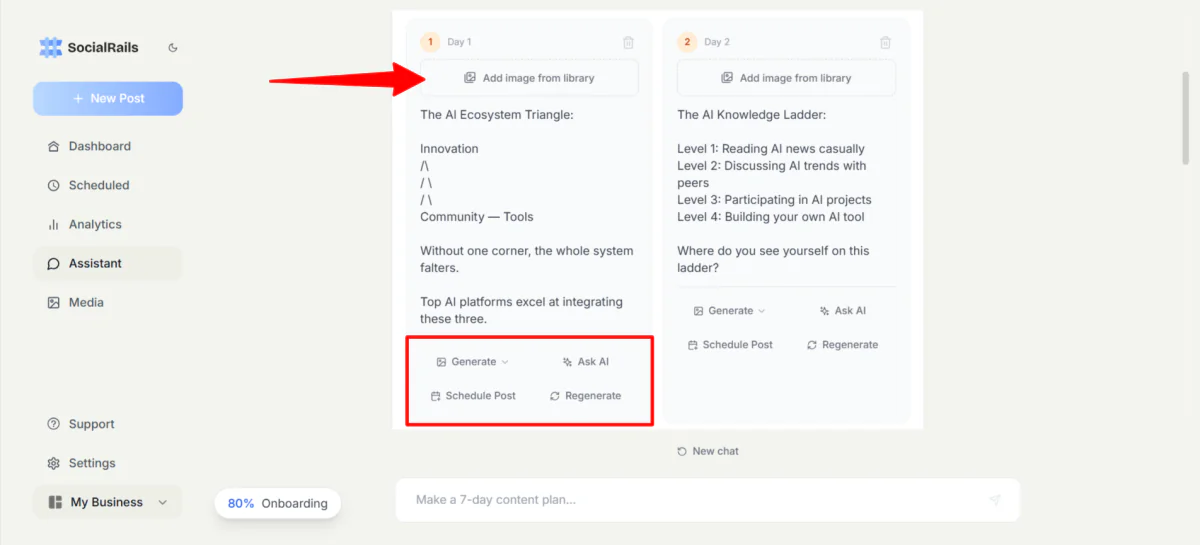
The speed was impressive. Within seconds, the assistant mapped out a full 30-day calendar.
For each post, SocialRails provided a toolkit:
- I could trash duds
- Pull from my image library
- Generate new AI visuals
- Ask the AI to tweak the copy
- Schedule the post
- Regenerate the post
- Schedule all the posts simultaneously
Keep in mind that while the Assistant view is for quick tweaks, deep editing (like manually editing the caption) happens in the calendar view.
Step 10: Generate an Image
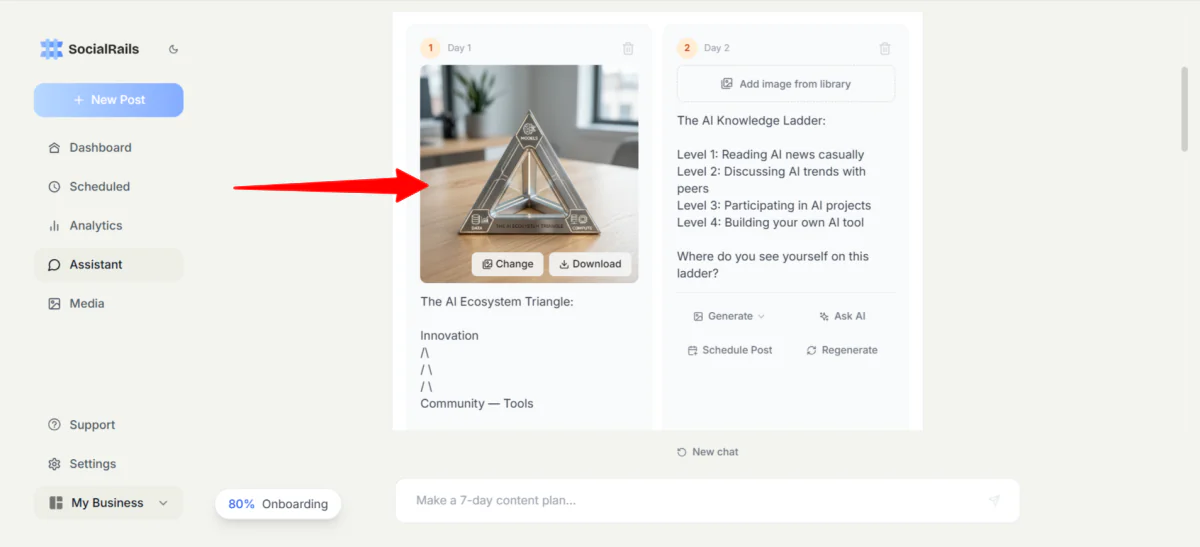
On one of the posts, I selected “Generate” and “Photorealistic” (there are lots of other image styles you can choose from, like Cinematic, Product Shot, and Fun Cartoon). The photo it generated was realistic, and it made sense with the caption.
For each post, you can upload your own image or AI-generate a styled image that suits the caption. If you’re not happy with it, hit “Regenerate.”
Step 11: Ask AI to Make Changes
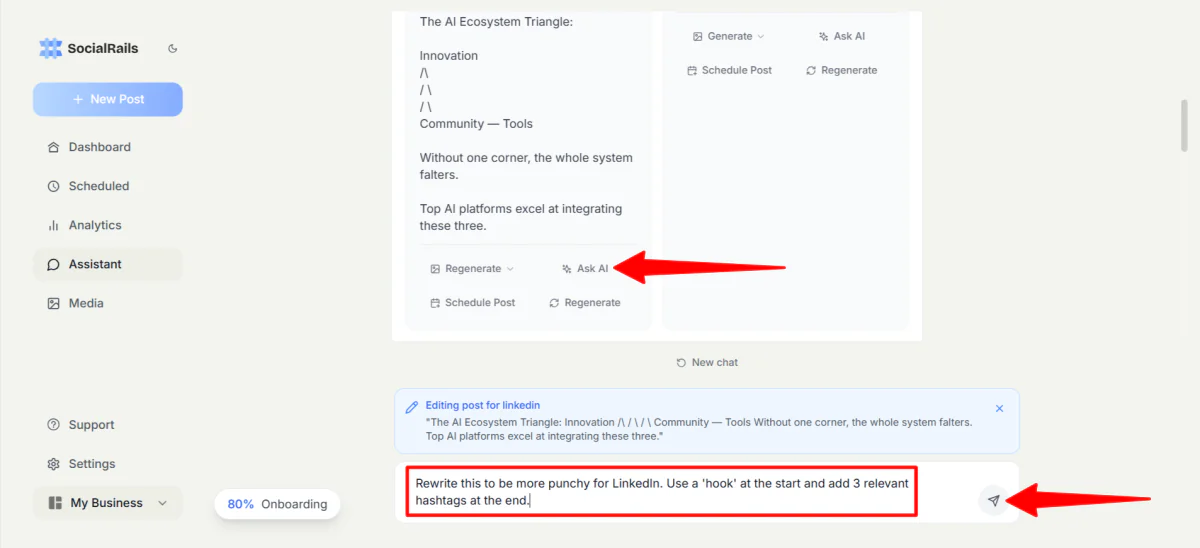
On that same post, I also wanted to ask AI to make some changes to the caption. I selected “Ask AI” and gave it the following prompt:
“Rewrite this to be more punchy for LinkedIn. Use a ‘hook’ at the start and add 3 relevant hashtags at the end.”
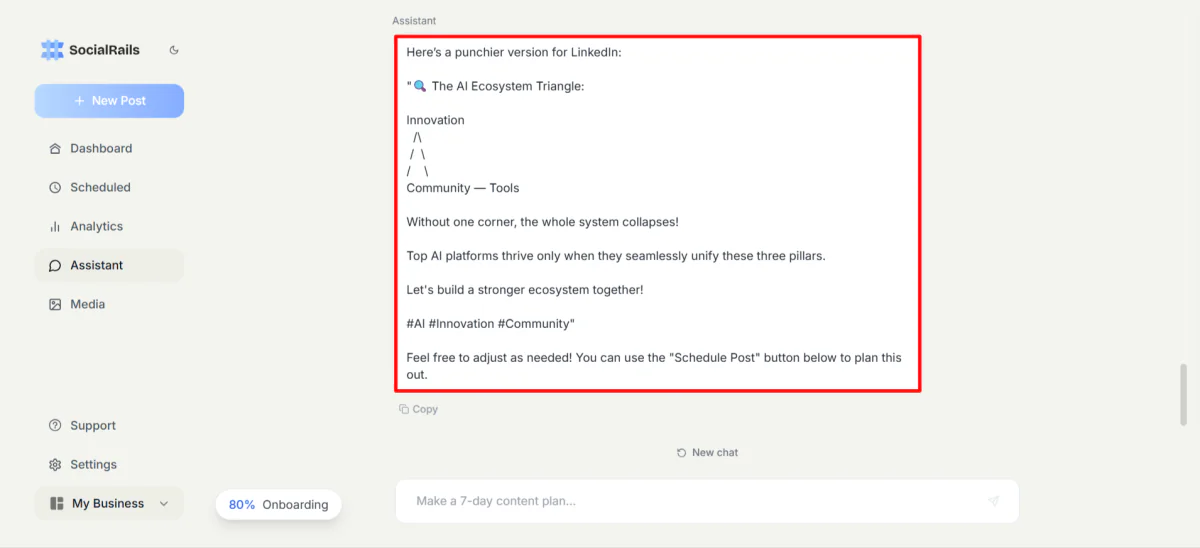
A few seconds later, the AI assistant generated a new version for LinkedIn:
“Here’s a punchier version for LinkedIn:
‘🔍 The AI Ecosystem Triangle:
Innovation
/\
/ \
/ \
Community — Tools
Without one corner, the whole system collapses!
Top AI platforms thrive only when they seamlessly unify these three pillars.
Let’s build a stronger ecosystem together!
#AI #Innovation #Community’”
While I didn’t feel like the caption had a better hook, it did generate three relevant hashtags at the end.
It also didn’t automatically replace the old text in the post editor. I had to copy and paste it manually. This adds an extra step that feels a bit clunky.
Step 12: Schedule the Posts
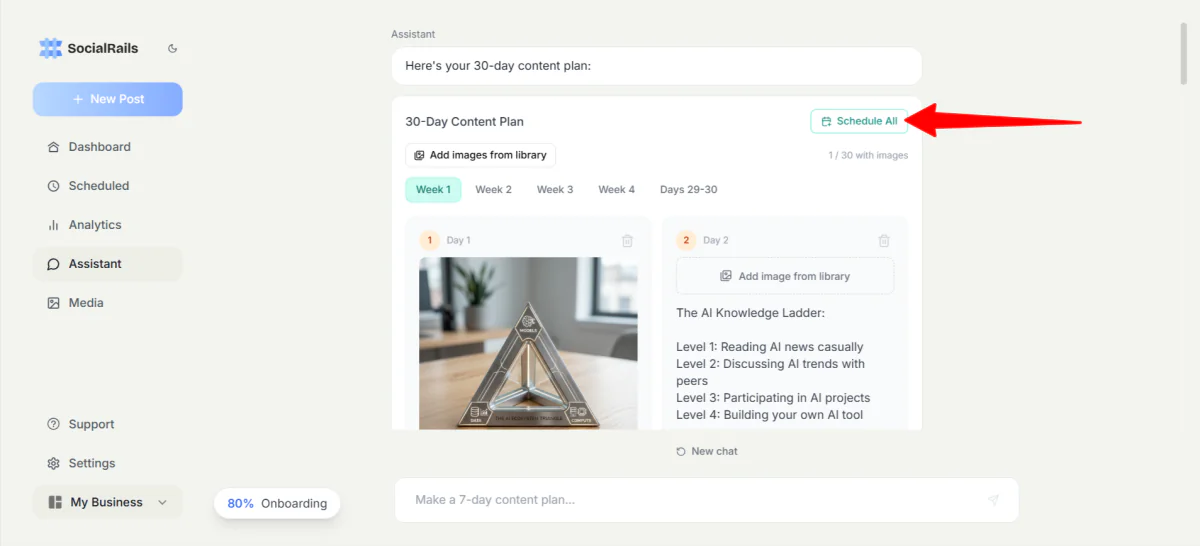
On the top right, I hit “Schedule All.”
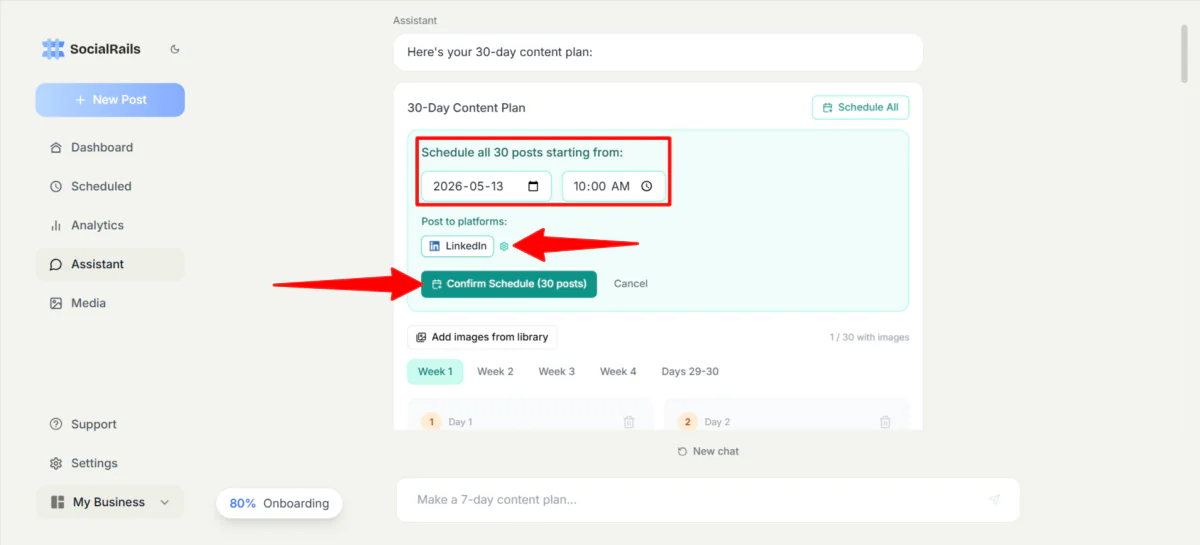
Next, I chose the starting date and time for when all 30 posts would begin to be published. I also made sure the pages I wanted the content to be published on were selected by going to the gear icon, and I selected “Confirm Schedule (30 posts).”
Step 13: View the Scheduled Posts
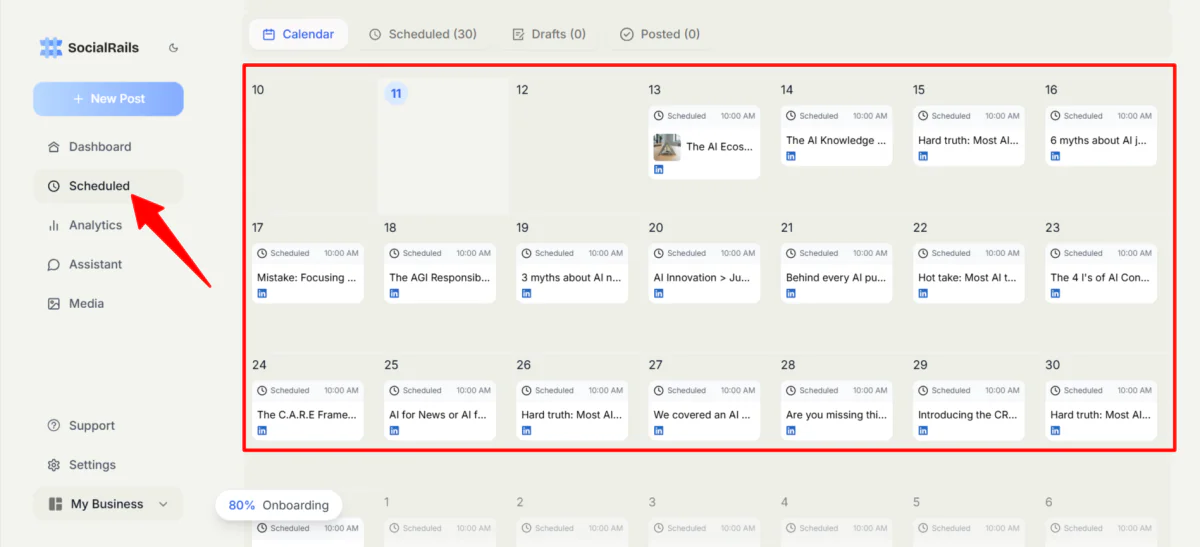
From there, I went to the “Scheduled” tab, where all of my posts were.
I liked the flexibility. I could click and drag any of my posts to a different day if I wanted to.
Step 14: Edit the Post Caption

Clicking on a post from the calendar opens a new window, where you can manually edit the caption, choose which platforms to post on, and upload/generate/change images.
Step 15: Create More Posts & Connect Accounts
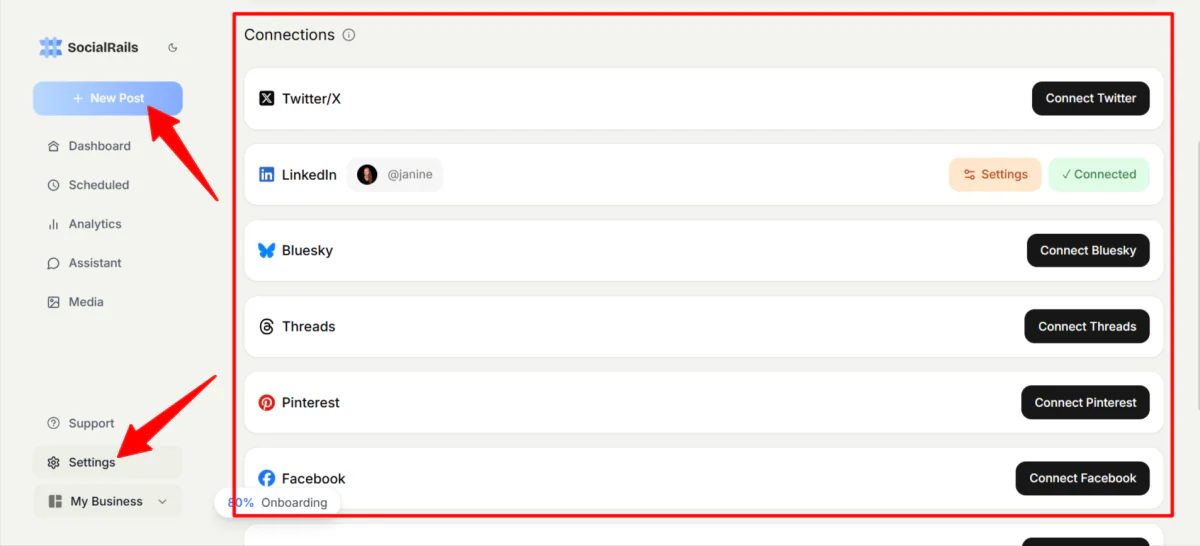
One final note: If you ever only want to generate one post at a time, select “New Post” on the top left. If you want to connect/disconnect your social media accounts, go to your settings.
Overall, SocialRails made it incredibly easy to generate, organize, and schedule content across multiple social media platforms from one simple dashboard. The speed, automation tools, and built-in content planning features made the experience feel streamlined.